Simple Steps to Install a Built-in Mini-Fridge in a Hotel Cabinet
Adding a mini-fridge to a guest room is an essential touch if you want to provide a luxurious hotel furniture stay. Not only does it offer guests the convenience of enjoying drinks and snacks at any time, but it also elevates the overall guest experience.
In this blog post, we will guide you through the process of installing a small refrigerator, starting from the material preparation. With our professional guidance, you will be able to install these mini-fridges with ease and ensure their long-term reliability. Let’s get started!
Step-by-Step Mini-Fridge Installation Guide
Installing a mini-fridge is not complicated. As long as you follow the correct procedures, you can easily integrate the unit into your cabinetry.
Preparation Phase: Essential Tool List
-
Small mini-fridge
-
Electric drill
-
Spirit level
-
Screws and expansion bolts
-
Safety goggles, etc.
The 8 Stages of Installation
Stage 1: Choose the Optimal Location Since this is a fixed amenity, first select a prime and permanent location for the small fridge within the hotel room. Key factors to consider include ease of access, visibility, and proximity to a power outlet.
Stage 2: Precise Measurement Accurate measurement is vital for a successful installation. Measure the dimensions of both the mini-fridge and the Hotel Cabinet, ensuring you reserve sufficient space for ventilation. Mark the designated position inside the cabinet with a pencil and use a spirit level to confirm the surface is perfectly flat.
Stage 3: Create Ventilation Openings Proper airflow is critical for the efficient operation of small, freezer-less refrigerators. Using the measurements from Stage 2, mark and cut an opening at the back of the cabinet. This step prevents overheating and ensures the fridge maintains the required temperature.
Stage 4: Secure the Cabinet Once the ventilation vent is in place, use screws and expansion bolts to secure the Hotel Cabinet to the wall. This step is crucial for the stability and safety of the furniture. Ensure the cabinet is level before drilling and always wear safety goggles during the process.
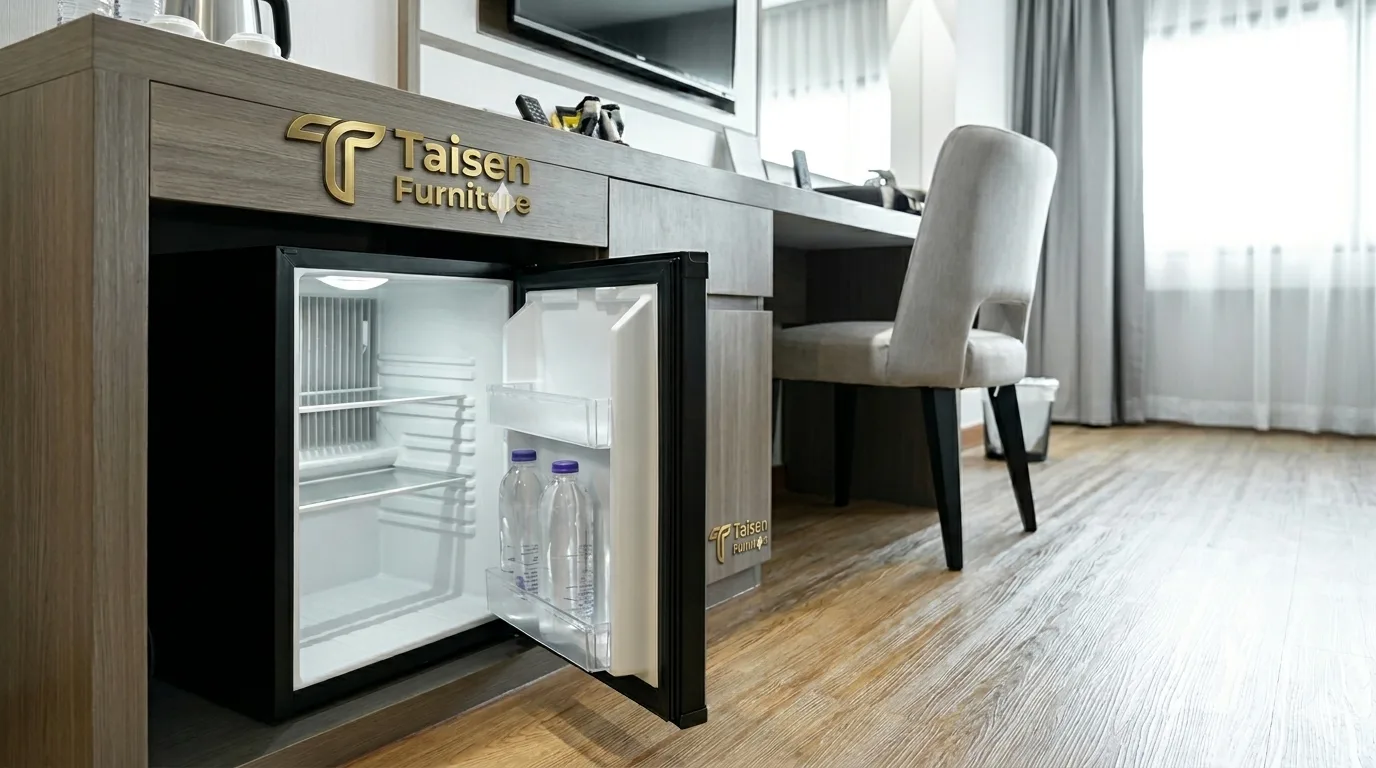
Stage 5: Place the Mini-Fridge Carefully slide the mini-fridge into its designated spot within the Hotel Cabinet. Pay attention to any necessary micro-adjustments to ensure the fridge aligns perfectly with the cabinet opening for a seamless, high-end look.
Stage 6: Fix the Mini-Fridge Use an electric drill to secure the small refrigerator to the cabinet frame. Refer to the manufacturer’s installation manual and follow the instructions strictly. This ensures the unit remains stable and prevents accidental shifting.
Stage 7: Conceal Wires and Cables Hide the fridge’s power cord and cables to maintain the aesthetic integrity of the Hotel Cabinet. Use cable organizers or clips to secure the wires to the back of the cabinet so they remain out of sight. This attention to detail adds a refined touch to the installation.
Stage 8: Functional Testing After installation is complete, be sure to test the mini-fridge’s functionality. Confirm that it cools properly and that the door opens and closes smoothly. This step is essential for identifying and resolving any potential issues before guests arrive.
Long-term Operation: Professional Maintenance for Mini-Fridges
Hygiene and Odor Management: Regularly wipe down internal compartments with a diluted vinegar solution to prevent the buildup of odors and bacteria.
Energy Efficiency and Frost Maintenance: For non-automatic defrost models, establish a routine defrosting schedule to maintain compressor efficiency. Additionally, inspect the door seals regularly for wear and tear to prevent energy loss.
Smart Storage Logic: Smart storage is the best way to extend the lifespan of a small fridge. Flexibly adjust the temperature control knob based on the contents (e.g., beverages vs. perishable snacks).
Environmental Safety Checks: One of the most important maintenance measures is to periodically clean dust from the Hotel Cabinet ventilation vents. This ensures that the heat dissipation channels remain unobstructed at all times.